This is a guide on how to use the command line interface (CLI) tool to interact with Classic, in the case where the frontend application is inaccessible or if there is no working working RPC endpoints that work because of being subject to rate-limiting. This document is meant for individuals with little technical knowledge.
A simple guide for Windows users
Step 1: Download CLI tool
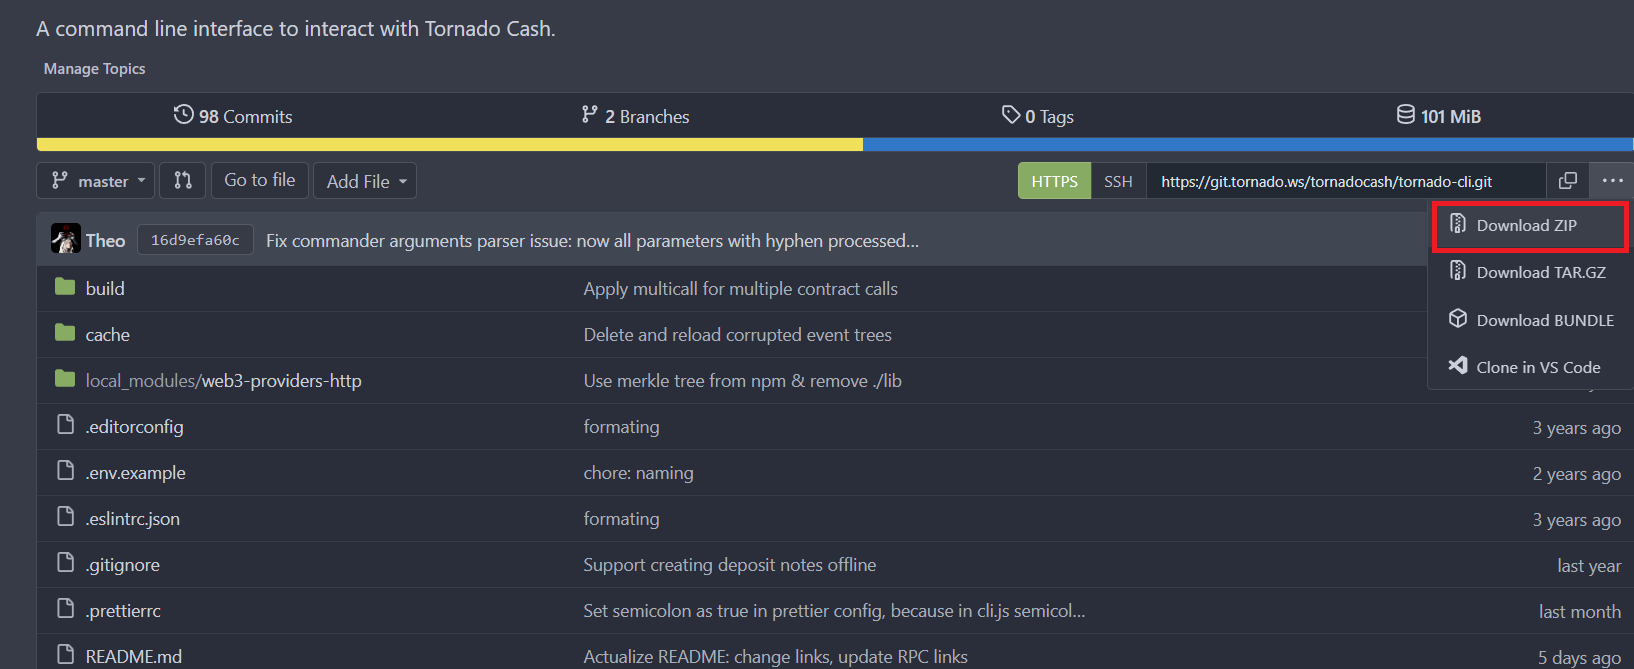
Visit the tornado-cli repository page and download the latest publication of the program, as highlighted below.
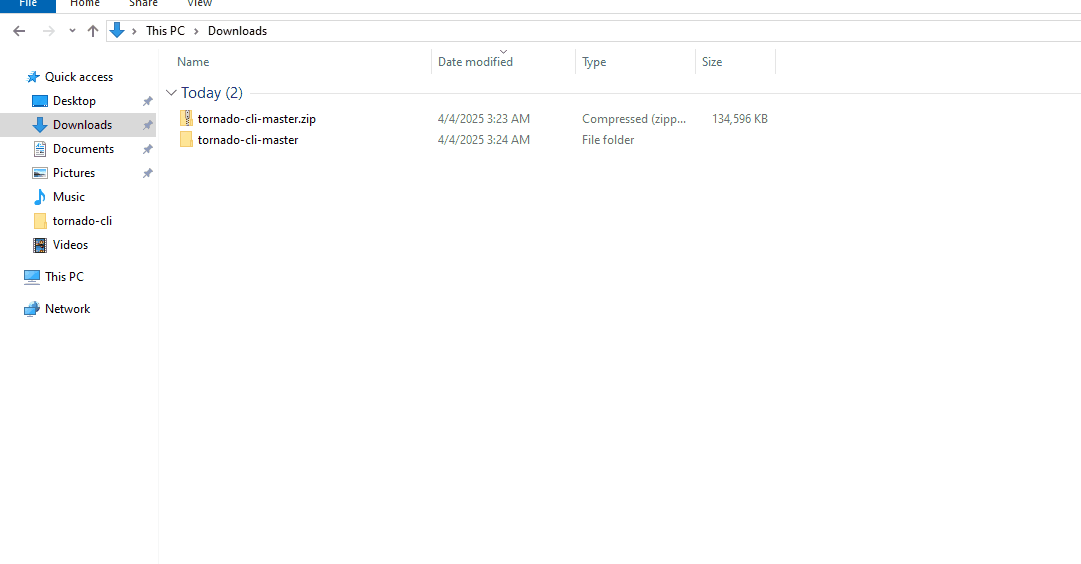
Open the location where the file was downloaded to and extract the archive.
Step 2: Preparing working environment
Open terminal (cmd) in tornado-cli folder and you’re ready - write tornado-cli.exe --help to see available commands and arguments:
Step 3: CLI usage
From here you can follow the instructions on the offical repo to use the CLI for withdrawing or depositing from the same window in the previous step.
Quick deposit and withdrawal guide:
Deposit
First, prepare your wallet’s private key. You can get the private key from the seed phrase here, and here’s a guide on how to copy your wallet’s private key to MetaMask.
To deposit funds to Tornado, paste this command in terminal: tornado-cli.exe deposit <currency> <amount> <chain id> --private-key <private key>
Of course, you need to replace all argument values in <> with real ones, for example:
tornado-cli.exe deposit BNB 0.1 56 --private-key 0xffffffffffffffffffffffffffffffffffffffffffffffffffffffffffffffff
You can find out the chain ID (the third parameter) for your network on the website chainlist.org. For Ethereum mainnet chain id is 1, for Binance Smart Chain (BSC) - 56.
You should confirm deposit transaction, when program asks to do so, by writing Y or yes in console. Program will print the created private note to the console, copy it and save it in a safe place. Make sure that the deposit was successful - you can check status of your note with the tornado-cli. exe compliance command.
Note, that I saved wallet private key to the .env file before running deposit command in this example, so I wouldn’t reveal it here. I recommend you to provide it as parameter --private-key in console window.
Withdrawal
Prepare your private note and address to which you will withdraw.
Open Powershell or Terminal in CLI directory (you already know how to do it) and run following command: tornado-cli.exe withdraw <your note> <your address>
For example: tornado-cli.exe withdraw tornado-eth-0.1-5-0xf73dd6833ccbcc046c44228c8e2aa312bf49e08389dadc7c65e6a73239867b7ef49c705c4db227e2fadd8489a494b6880bdcb6016047e019d1abec1c7652 0x8589427373D6D84E98730D7795D8f6f8731FDA16
If there is no active relayers on chain or you want to withdraw using private key, first make sure that:
- Private key is from wallet to which you withdraw funds
- You have enough base chain currency on your wallet to cover the withdrawal fee
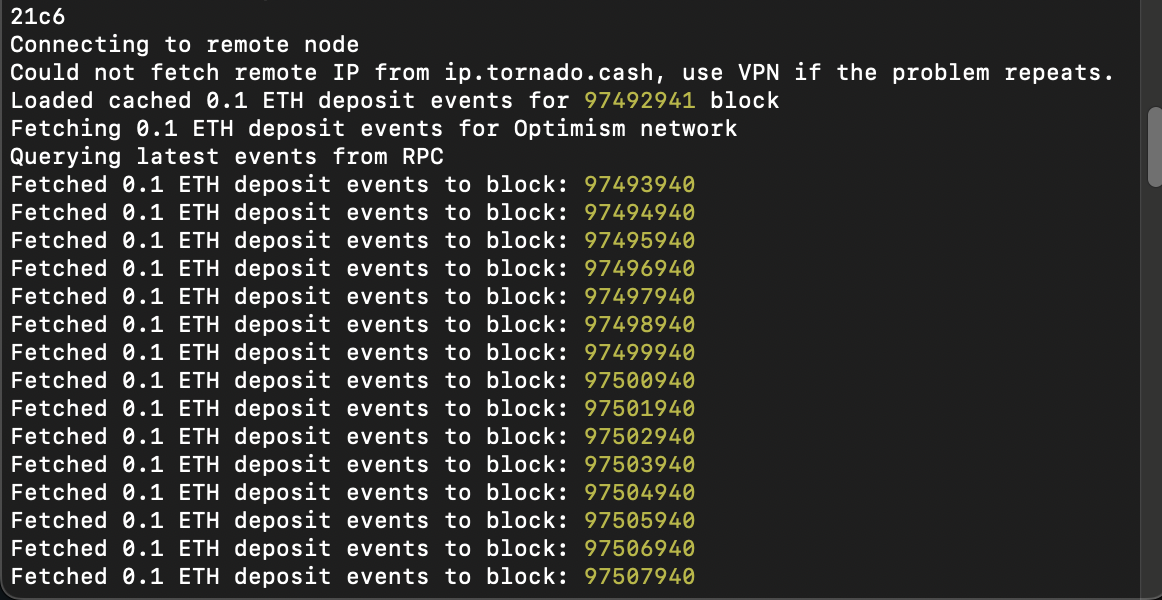
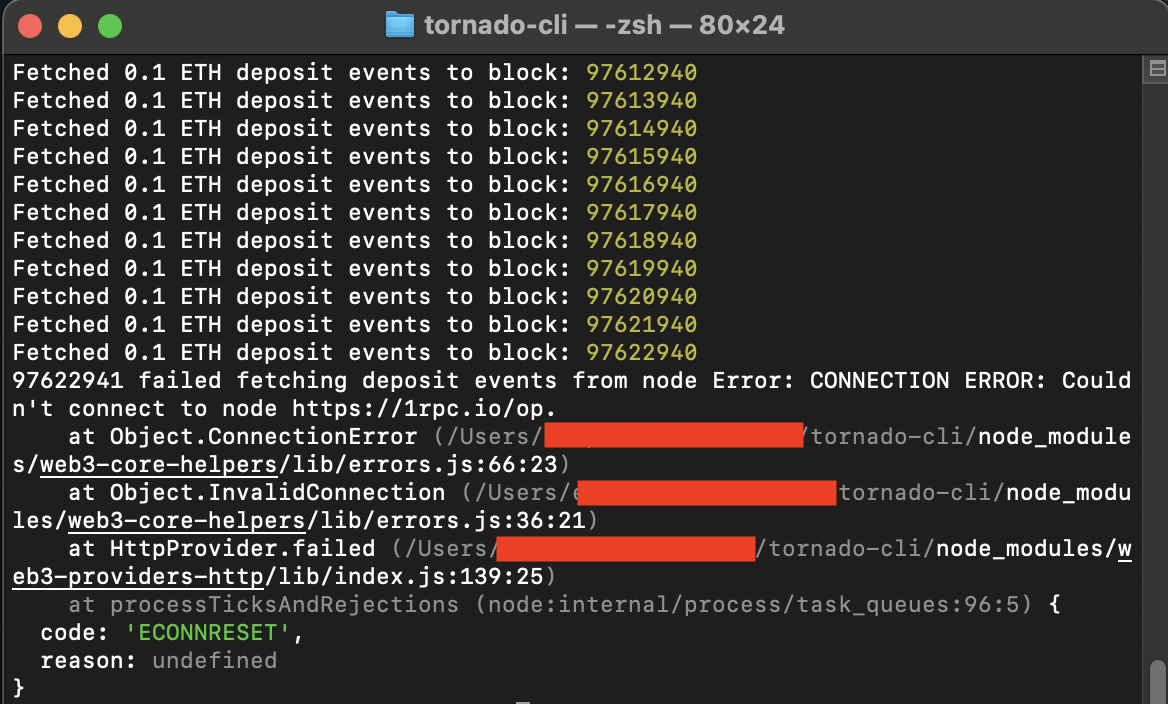
When events cache fetching is finished and SNARK withdrawal proof generated, you will see confirmation prompt:
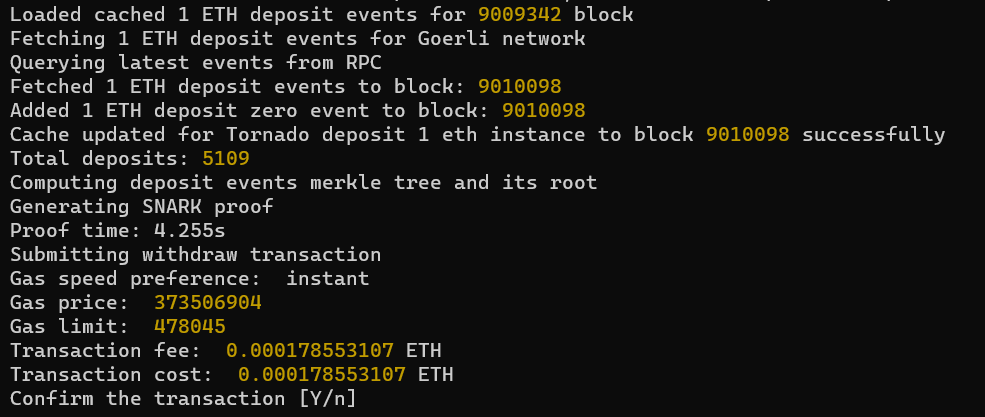
If you are satisfied with gas fee and relayer fee, type Y and press “Enter”.
After sending withdrawal transaction to the blockchain, a link to the transaction in block explorer will appear in console (Terminal/Powershell):

Notes
If you don’t like default RPC from config.js, you can find RPC endpoints on chainlist.org or check recommended RPC links in README
If you don’t like autoselected relayer, you can check available relayers list with command tornado-cli.exe listRelayers <chain_id> and provide suitable relayer in withdraw command.
For auditors and meticulous users: how to verify an executable file
How can you be sure, that tornado-cli.exe file really contains only the CLI source code without malicious addons? It’s actually quite simple: the .exe file is built using the pkg npm package, which allows you to create deterministic executables with reproducible content (like IPFS, when you run the same commands on the same source, the resulting executable will be completely identical and have the same hash).
In the createDeterministicExecutable.js script, you can check the process of generating the executable file and even recreate it, and using the verifyExecutable.js script, you can check the hash of the executable file located in the current version of the repository and the .exe file freshly built from the sources.
On Windows 10 create folder (for example, cli-verification), open cmd in it, clone CLI git repository with command git clone https://git.tornado.ws/tornadocash/tornado-cli, install dependencies with npm i and run the verification: npm run verifyExe.
Advanced guide, if you want run from source
If you familiar with git, cmd and so on, click here
- Install git, if not already installed
- Install latest nvm here
- Open cmd as administrator
git clone https://git.tornado.ws/tornadocash/tornado-clinvm install 14.21.3- Install node-gyp dependencies [Optional]
npm install
Use according to docs.
Step 1: Install NVM
To install NodeJS easily and manage the different versions will use an open source implementation called Node Version Manager (NVM)
Windows
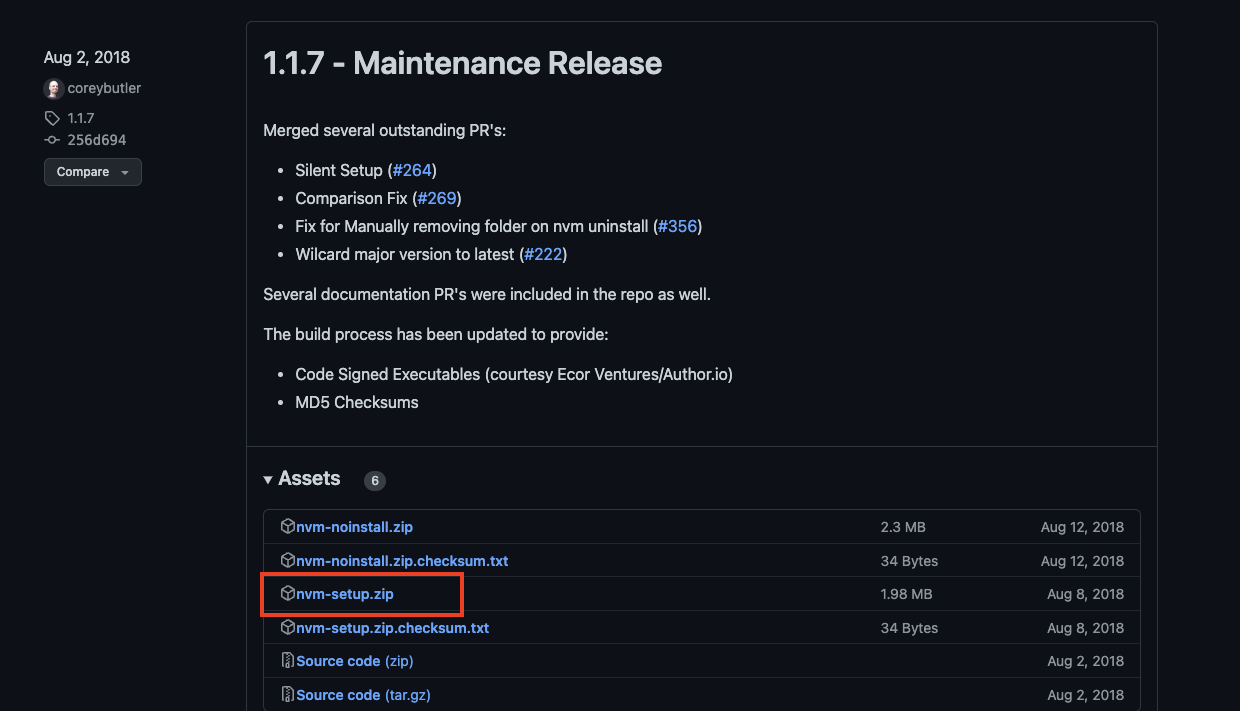
Visit the releases page of the nvm-windows repository and download the latest publication of the program, as highlighted below.
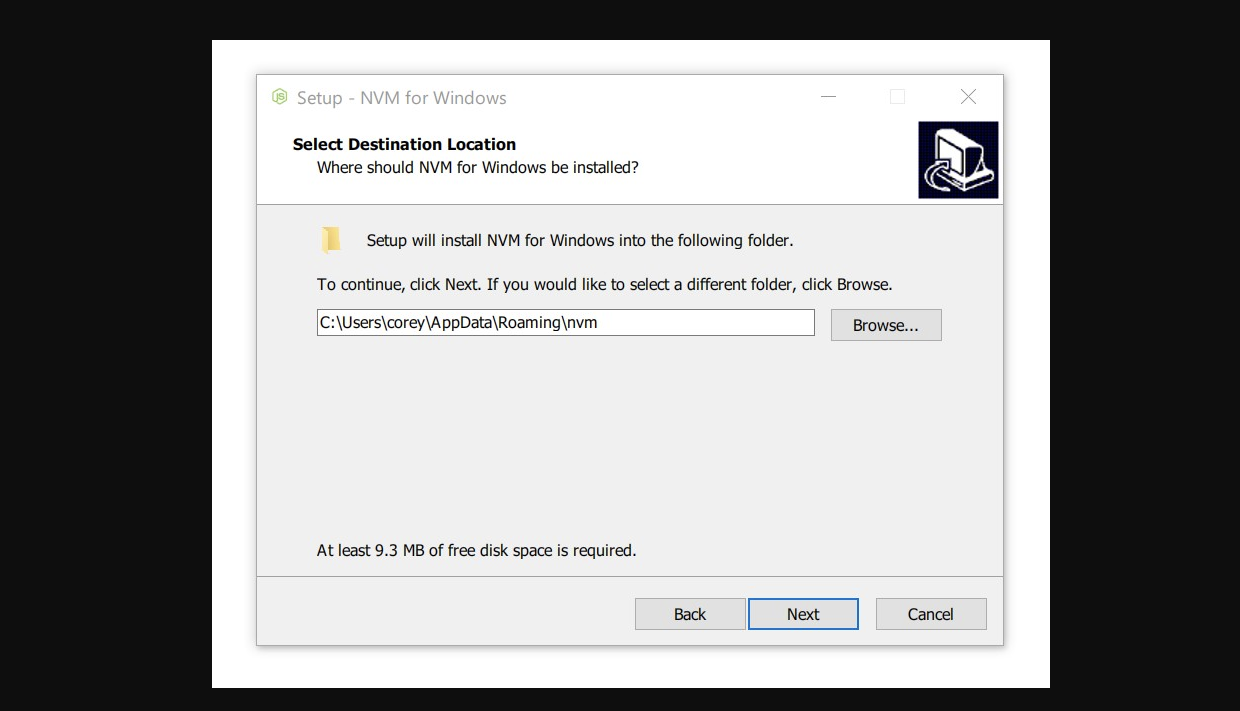
For this part you’ll need to be able to open (extract) .zip files, most operating systems allow this. Open the location where the file was downloaded to and open the file. It should create a folder in the same location with the resulting files, inside there should be an .exe file open it to start the installation.
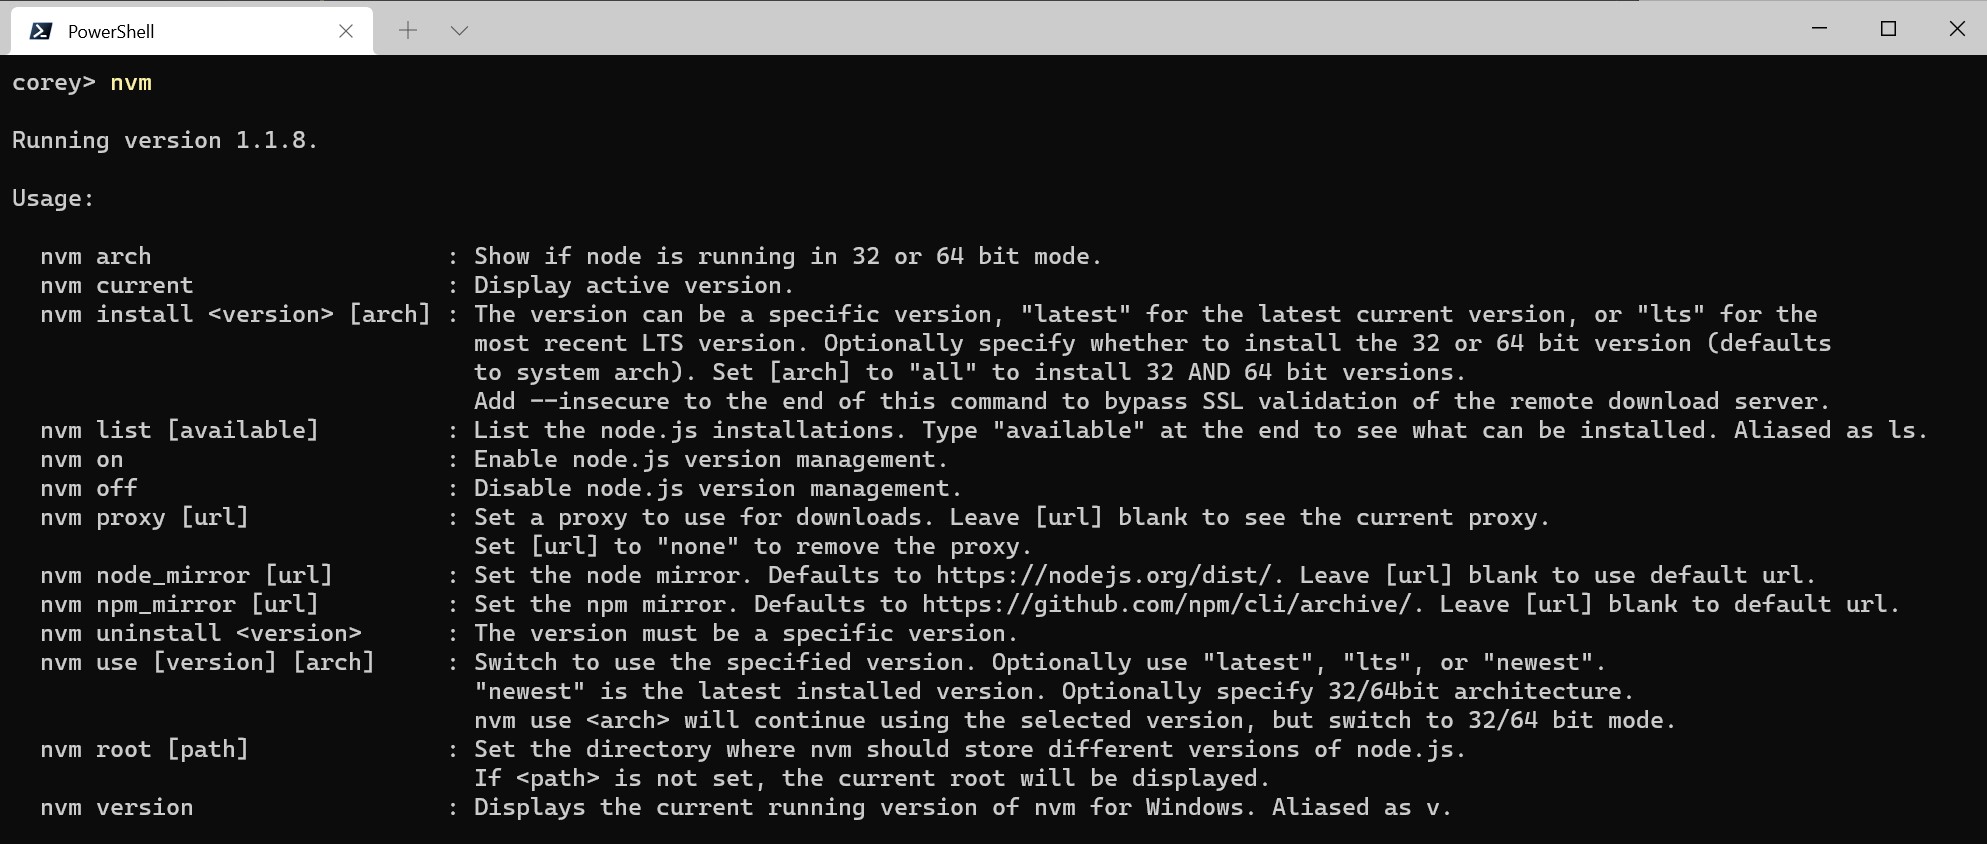
After finishing the installation go to your taskbar on the bottom left where the Windows logo is and search for “Powershell”, right click and select “Run as administrator”. Once it opens type in
nvm
If it responds with a version and help page (like on picture below), you have successfully installed NVM.
Linux
On Linux operating systems it is very easy to install NVM, open your “Terminal” application found by using the search function. Enter one of the following commands.
curl -o- https://raw.githubusercontent.com/nvm-sh/nvm/v0.39.3/install.sh | bash
OR
wget -qO- https://raw.githubusercontent.com/nvm-sh/nvm/v0.39.3/install.sh | bash
Once it finishes installing type in
nvm -v
If it responds with a version if it has you have successfully installed NVM.
Step 2: Install NodeJS
Now you need to install NodeJS using NVM, the CLI tool requires version 14 or less to work.
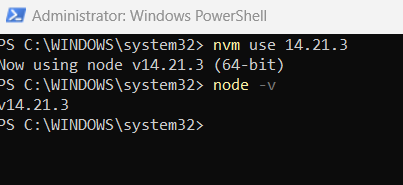
nvm install 14.21.3
nvm use 14.21.3
If both have successfully worked try to test if node and npm is installed by typing.
node -v
It should return version v14.21.3.
If it shows error message, like node is not recognized, just reopen console (Terminal / Powershell) as administrator.
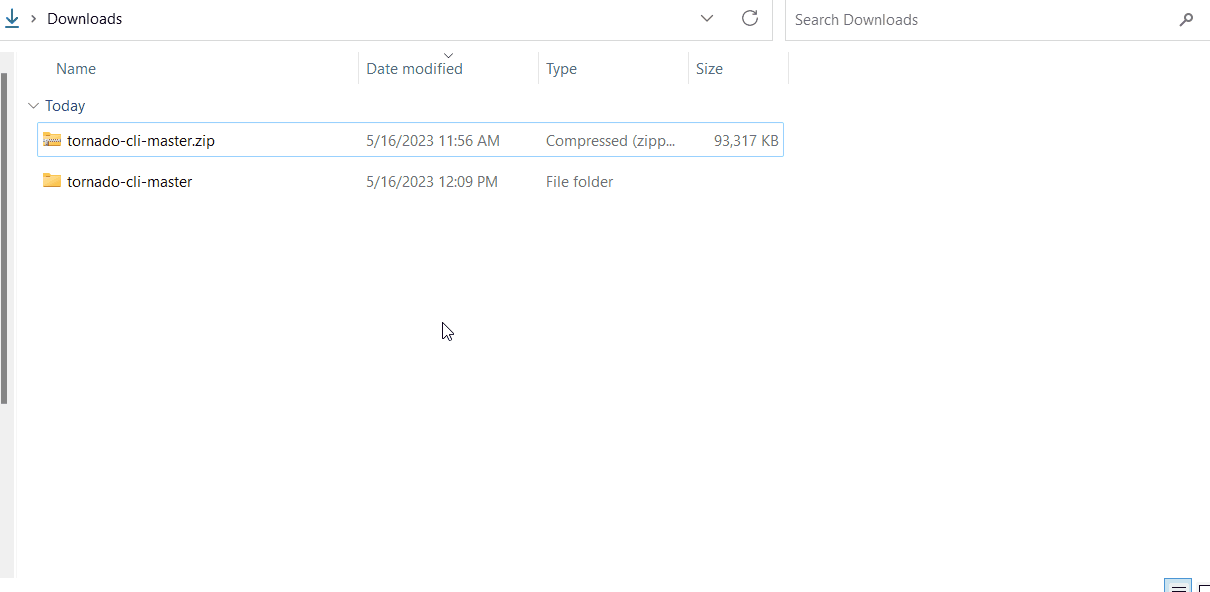
Step 3: Download CLI tool
Visit the tornado-cli repository page and download the latest publication of the program, as highlighted below.
Open the location where the file was downloaded to and open the file. It should create a folder in the same location with the resulting files, reopen “Terminal” or “Powershell” as described previously (Make sure to “Run as administrator” if using Windows)
Type the following command: cd <path-to-cli>
Replace <path-to-cli> with real path: copy it from system explorer into the “Terminal” or “Powershell” window, and press enter. If successful the folder name should show on the left side, check example on the GIF below.
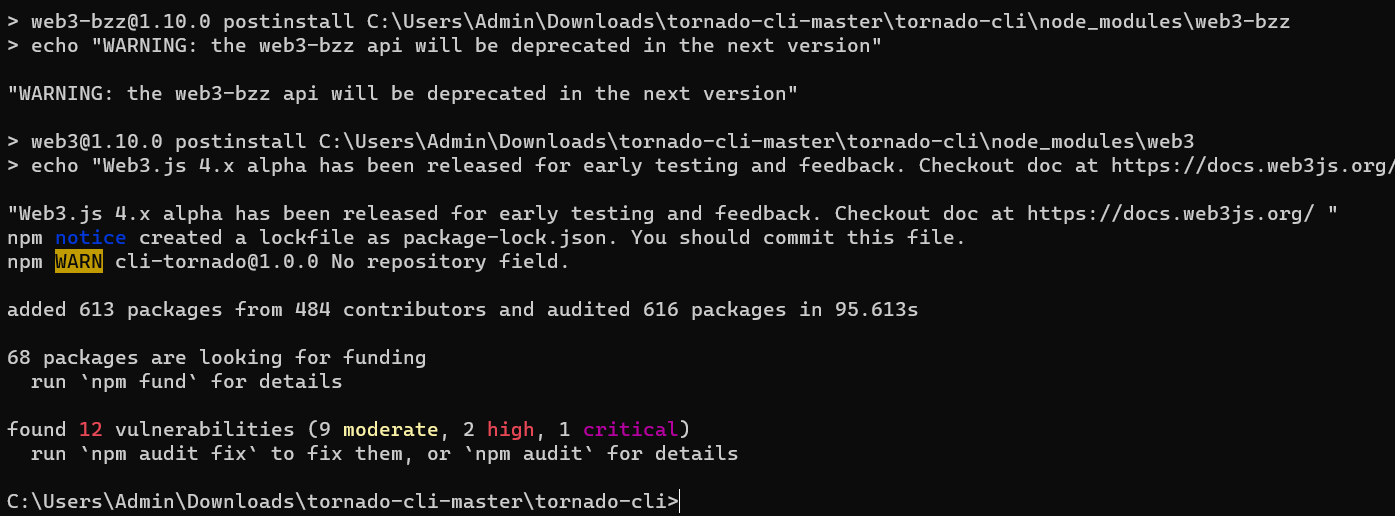
Final step install the packages.
npm install
If everything installed ok, you are ready to use the CLI tool. If you got an error related to “permissions” on Linux use sudo before npm and on Windows reopen Powershell as Administrator. Don’t pay attention if it says about warnings or vulnerabilities, it is normal behaviour:
If npm install failed (really, don't do this for no reason)
Download node-gyp compiler and its dependecies
Run on opened Powershell or Terminal window: npm i -g node-gyp
Windows
Install latest Python from official site (just click big download button).
Install latest Visual Studio Build Tools: open this link and download will start automatically. When file named vs_BuildTools.exe is uploaded, just run it and follow instructions in corresponding window, select `.

Linux
Open terminal and run: sudo apt-get install -y build-essentials
Step 4: Use CLI tool
From here you can follow the instructions on the offical repo to use the CLI for withdrawing or depositing from the same window in the previous step.